< Back to Articles
Tying Tail Gut
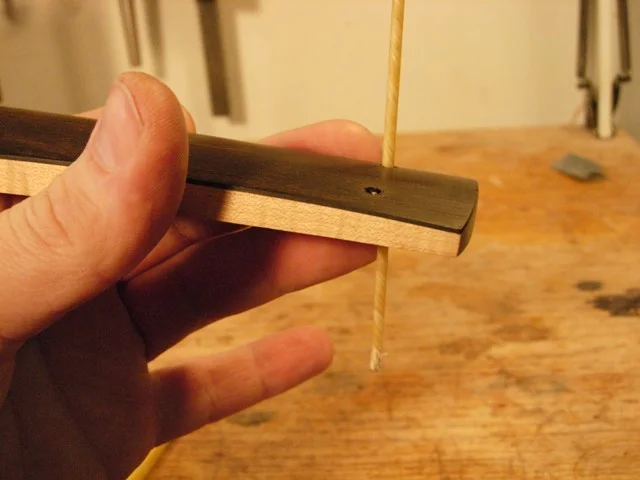
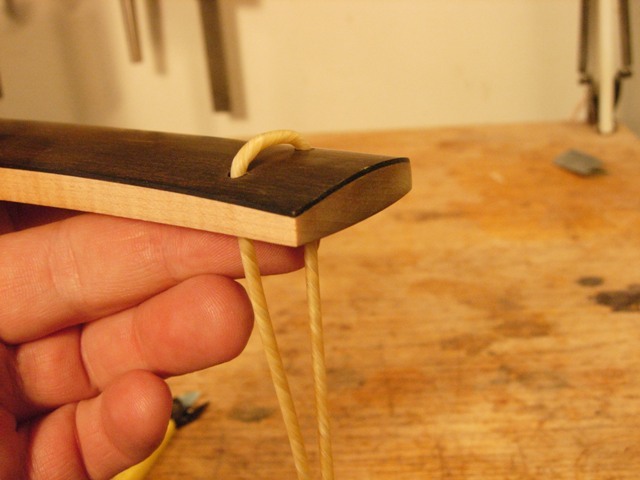
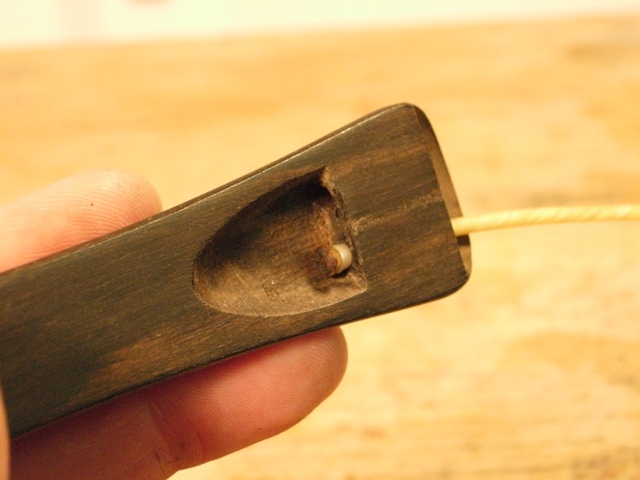
There are two ways to tie tail gut, depending on the type of tailpiece you are using. The first, like a modern tailpiece, has the tail gut which exits the end of the tailpiece and curves over the saddle and around the end pin. The second method uses two holes which pass through the and the gut passes from the top of the tailpiece, through to the bottom, and then over the saddle and around the end pin. Either of these systems are adaptable to the use of gut and instructions for tying are given below.
In Order to Put Gut On a Tailpiece You Will Need:
Tail gut
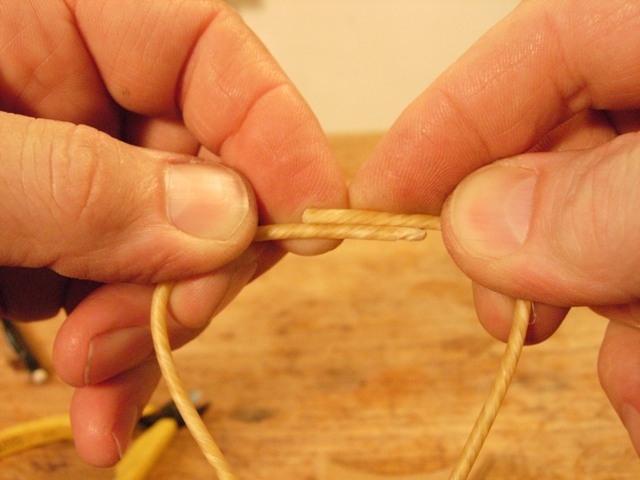
Stitching gut
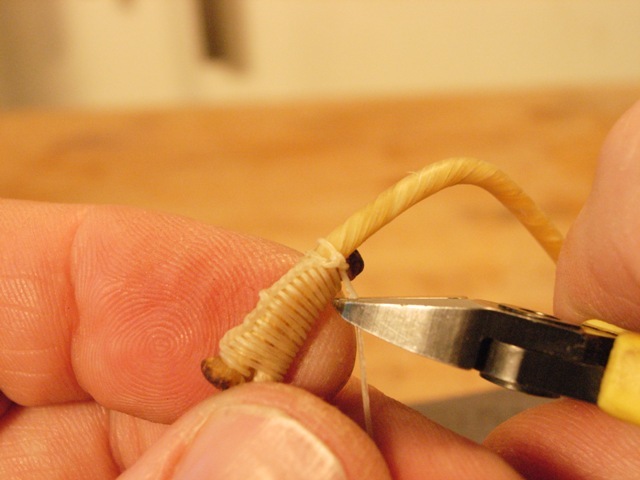
Something to cut the gut with, (clippers, nippers, knife, etc)
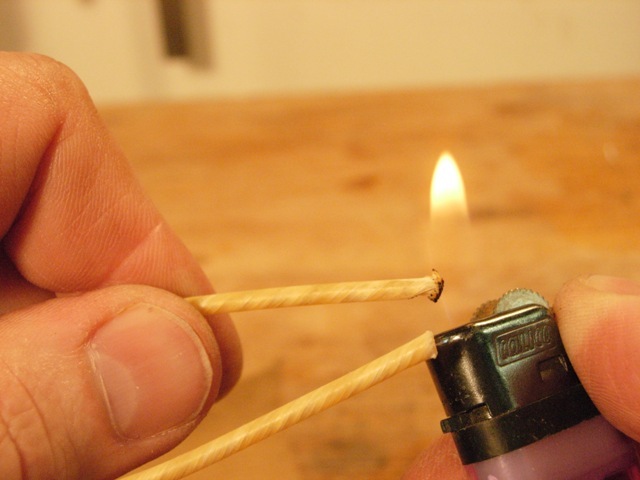
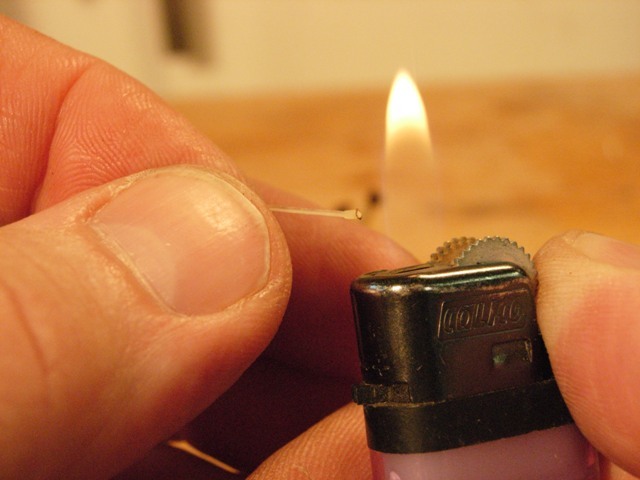
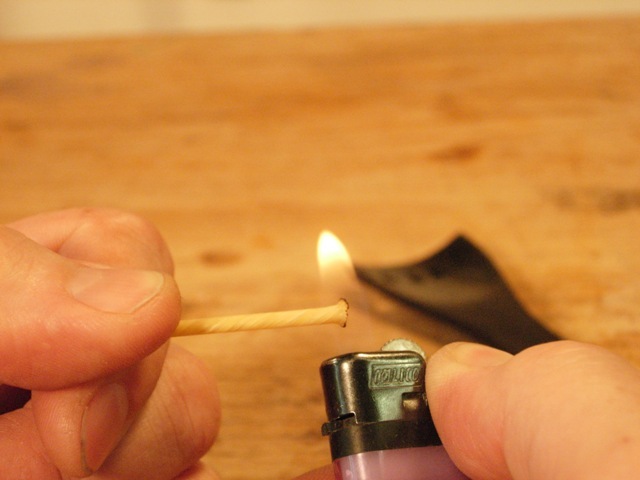
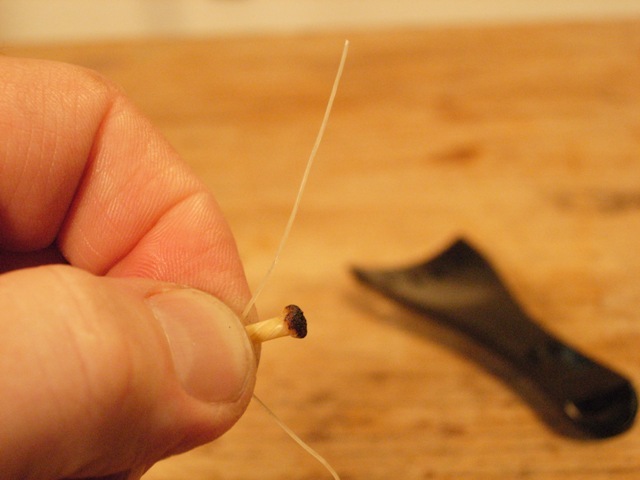
A flame source, (lighter, alcohol lamp, etc.)
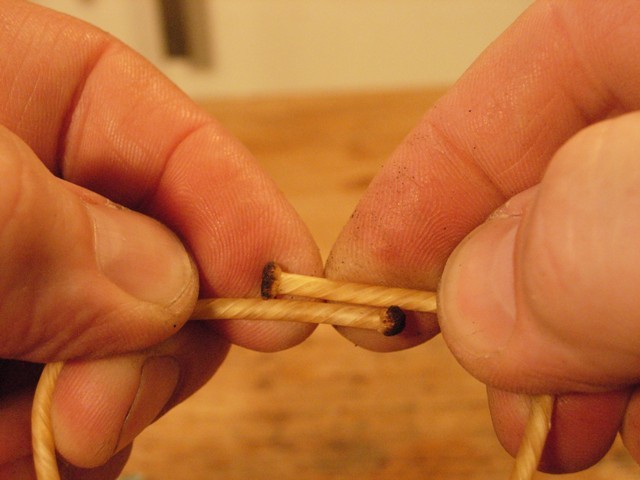
Tail gut is usually sold by a diameter thickness. Violins and violas use gut that is from 1.90mm to 2.20mm thick. Cellos use a gut around 3.00mm thick and a violone / double bass should use a gut about 5.00mm thick.
The thickness that you choose depends on the qualities you are looking for. A thicker gut will be more stable and stretch less than a thinner gut, but it may not allow as much vibration in the tailpiece as the instrument needs to sound its best. One of the advantages to the use of real gut over synthetic gut is that the flexibility of the tail gut can be changed simply by changing the diameter of the gut and this can have a radical effect on the tone and response of the instrument.
Stitching gut is about .50mm thick. It is possible to save old violin e-1 strings for use as stitching gut.
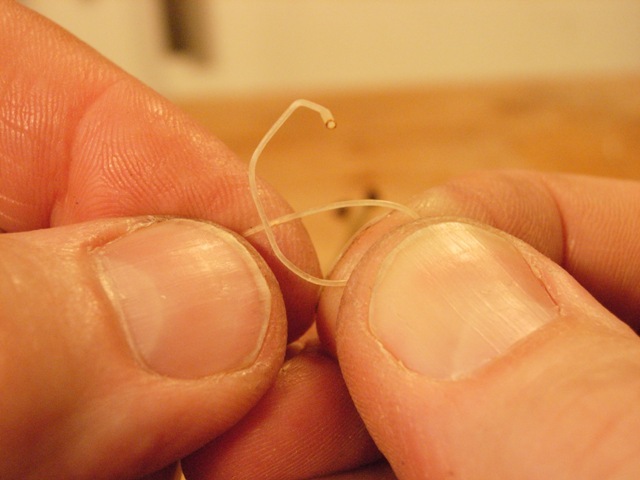
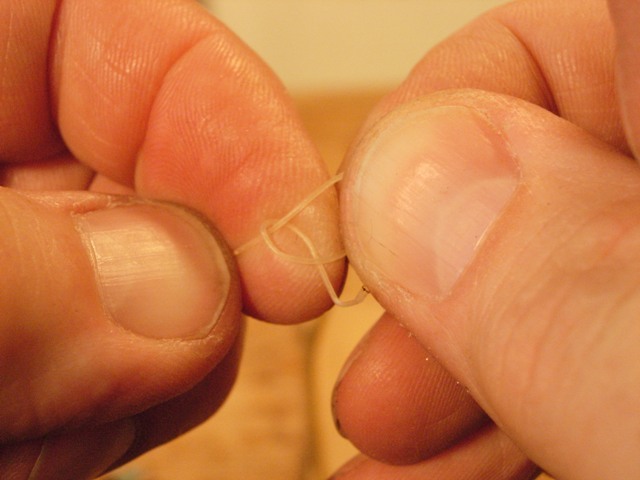
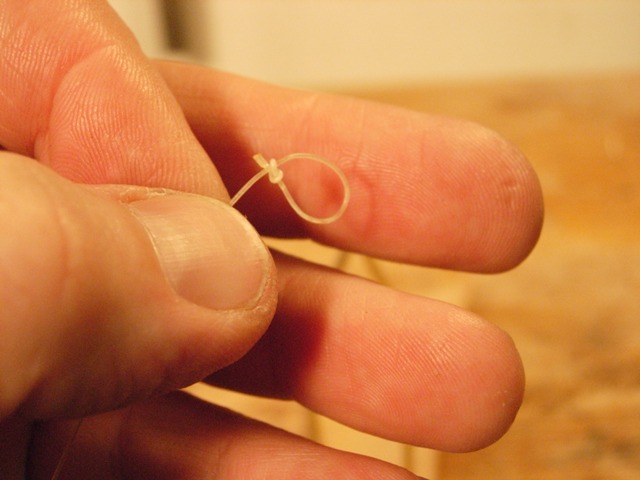
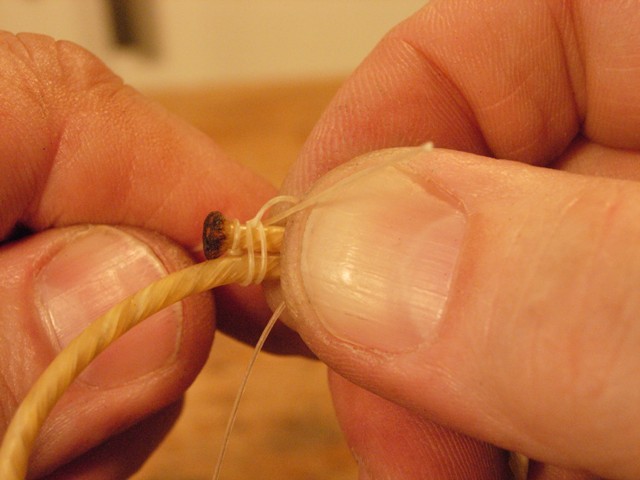
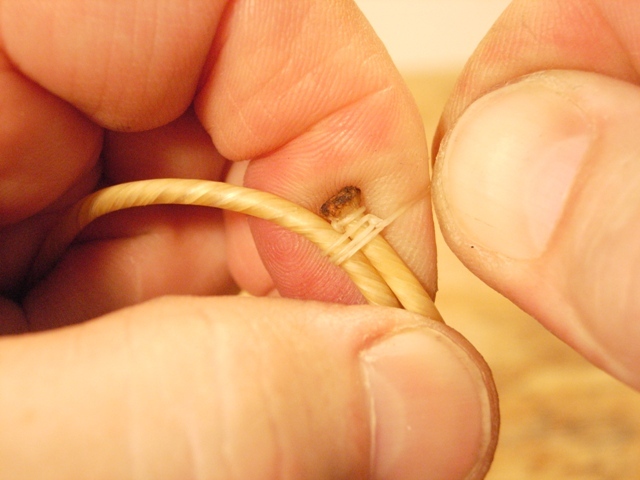
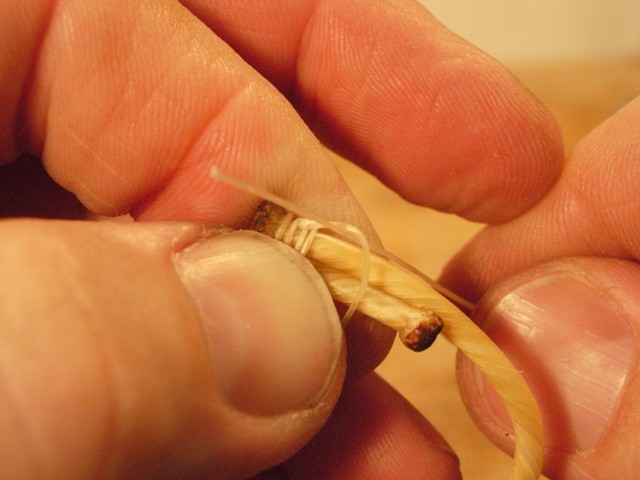
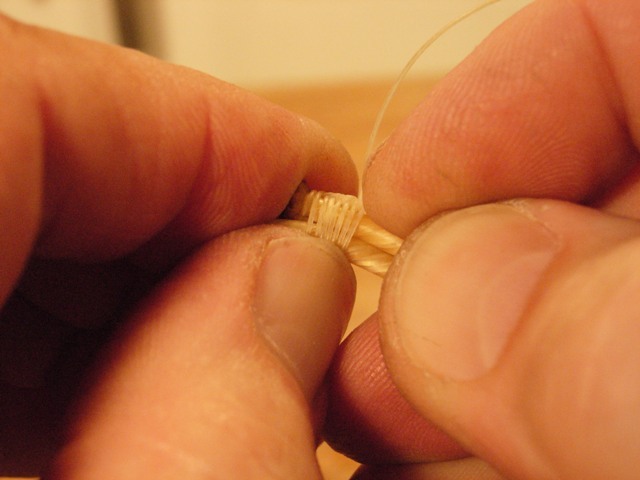
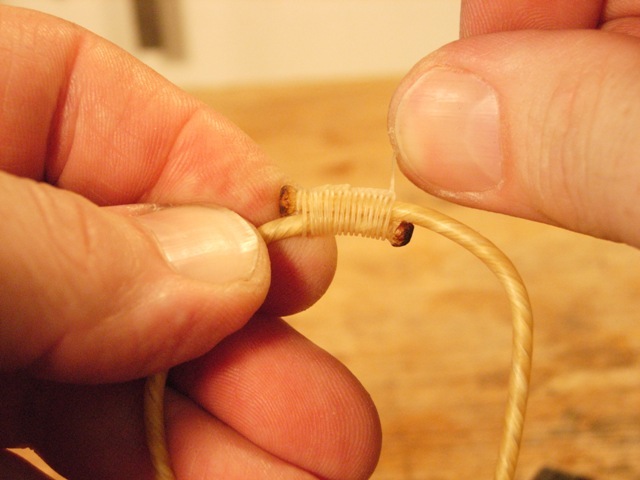
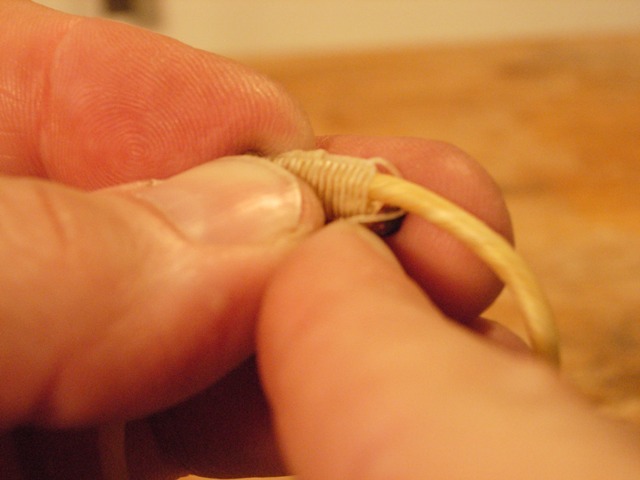
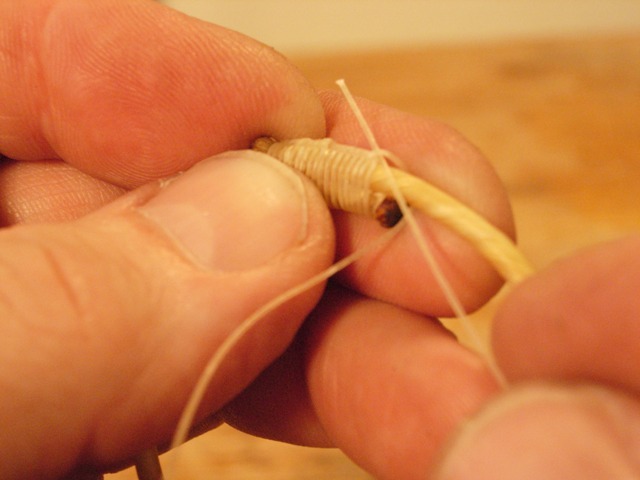
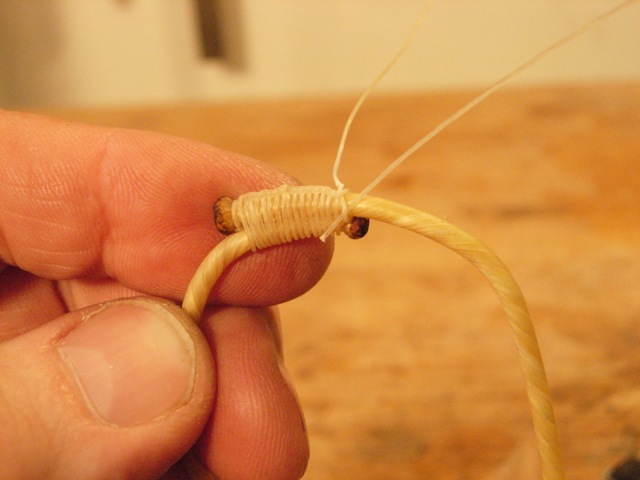
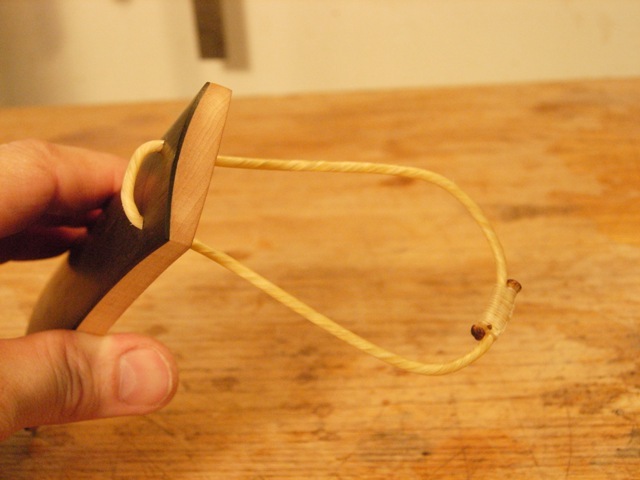
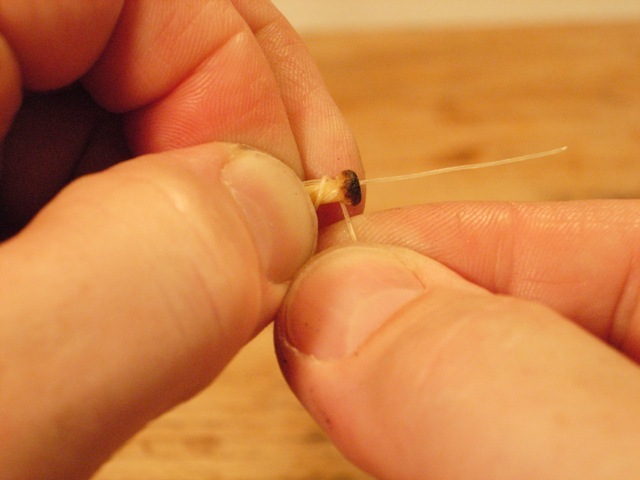
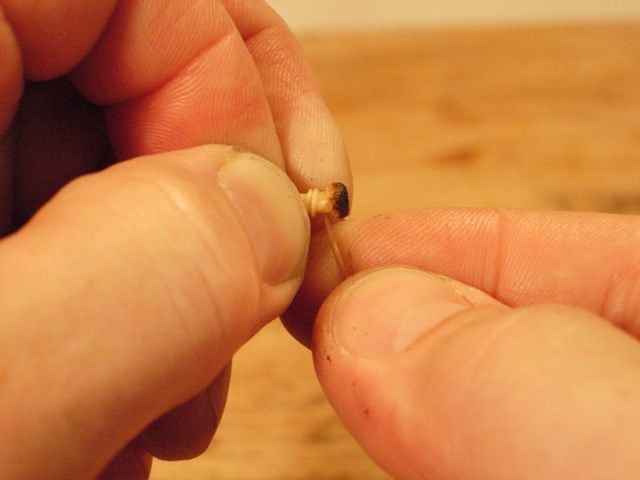
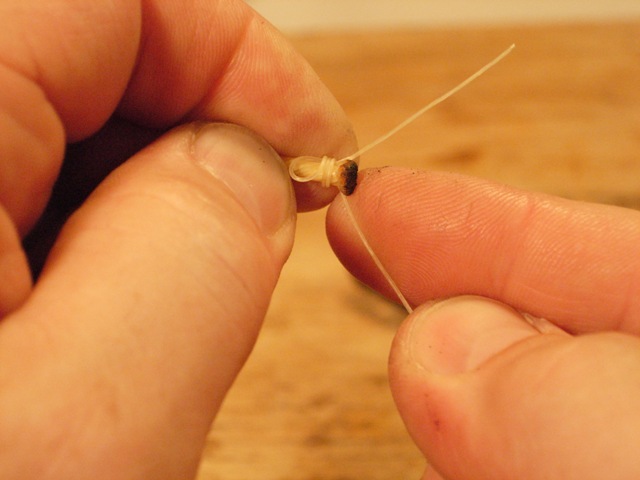
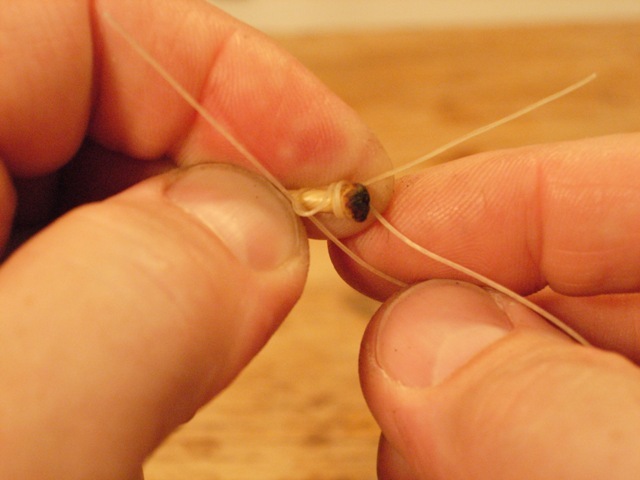
Putting Gut on a Modern Tailpiece
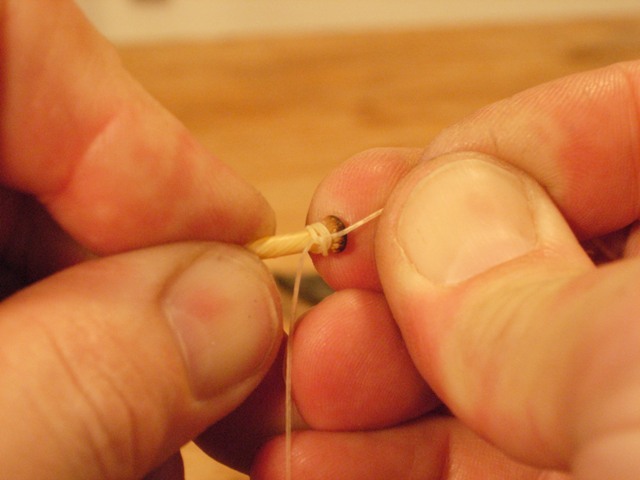
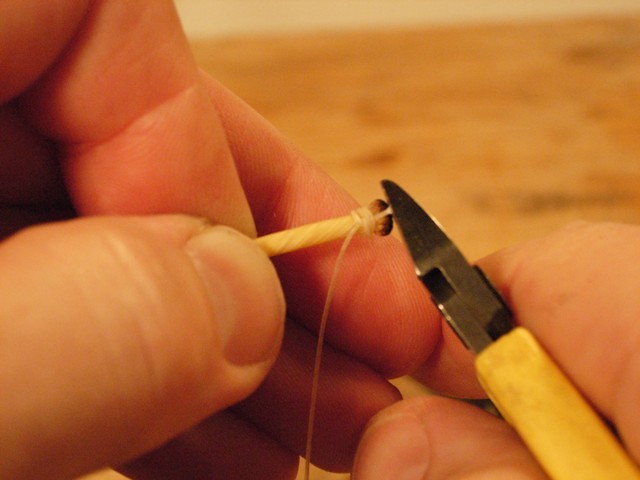
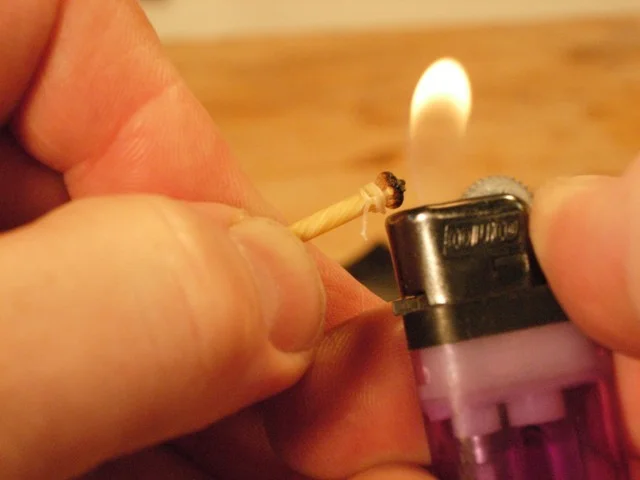
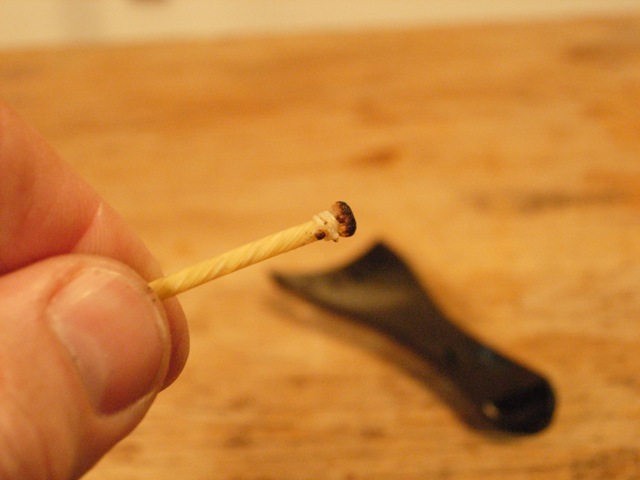
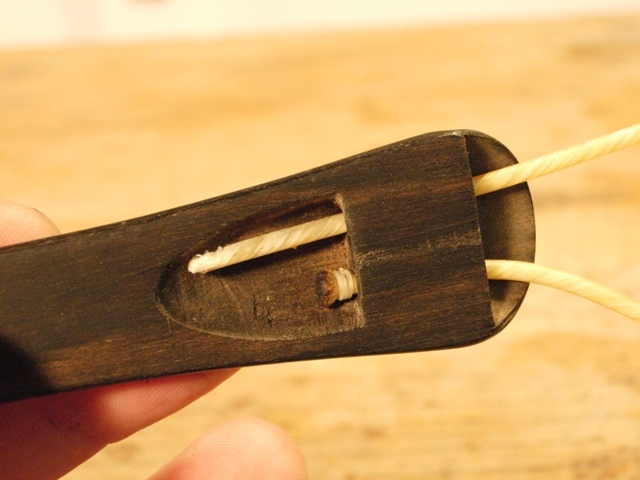
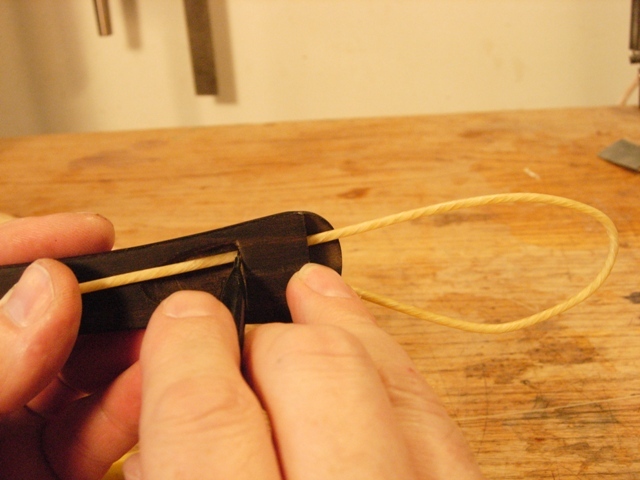
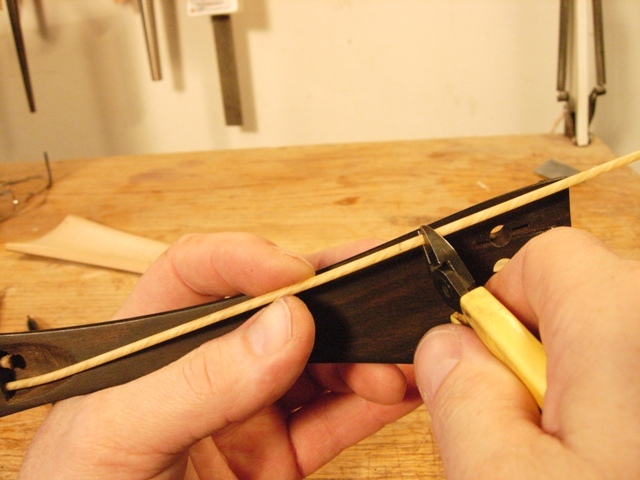
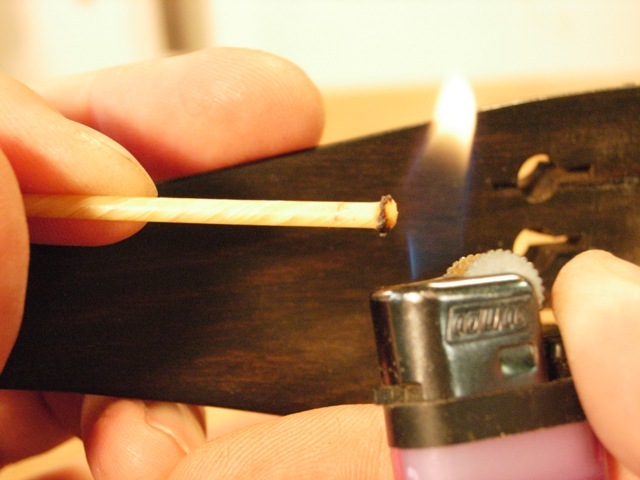
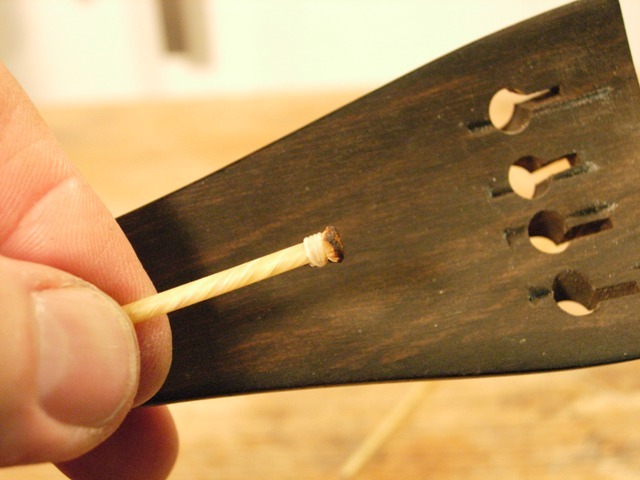
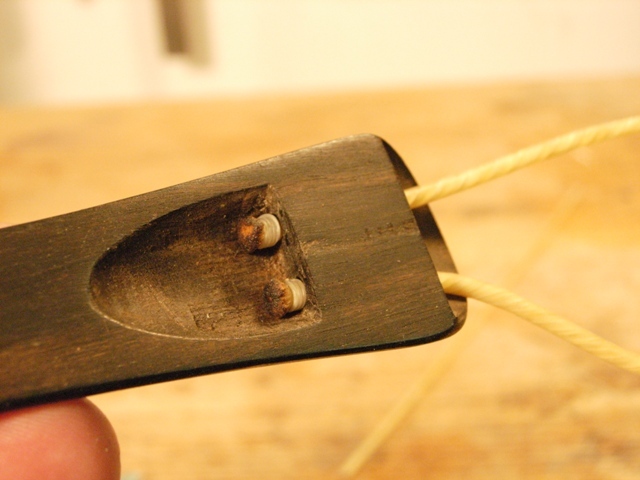
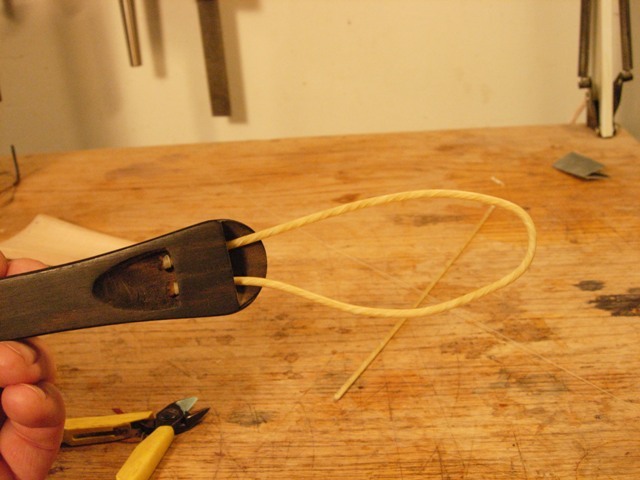
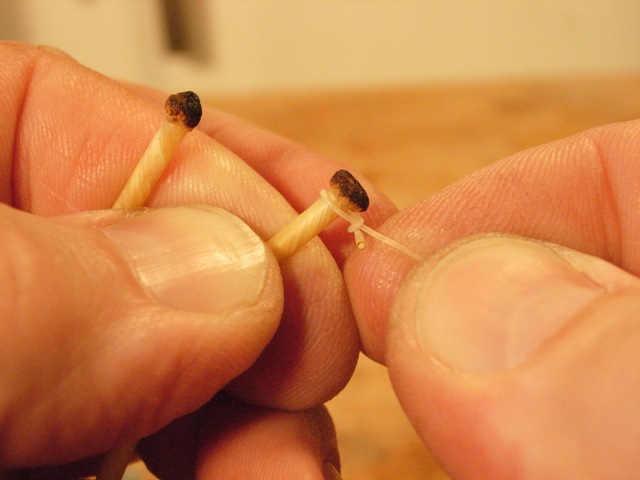
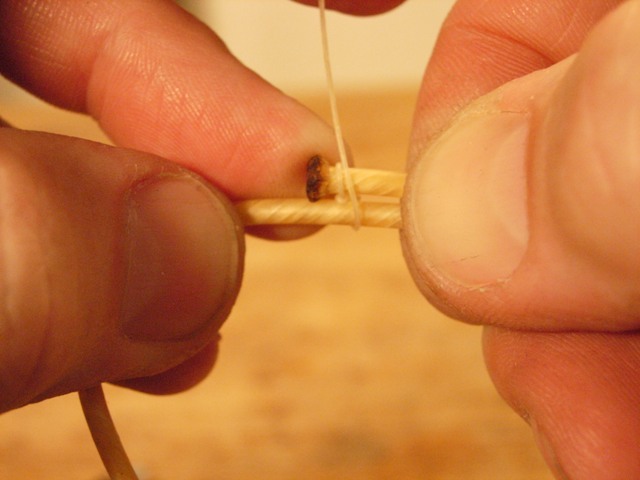
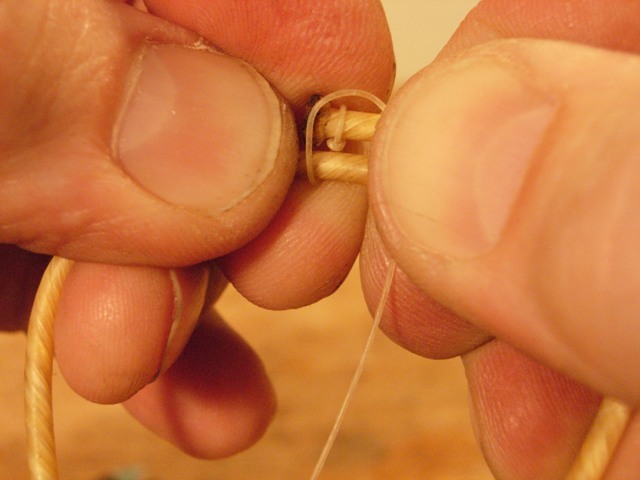
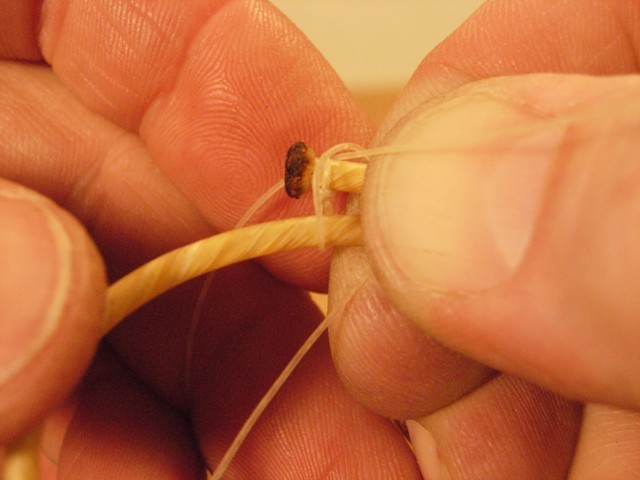
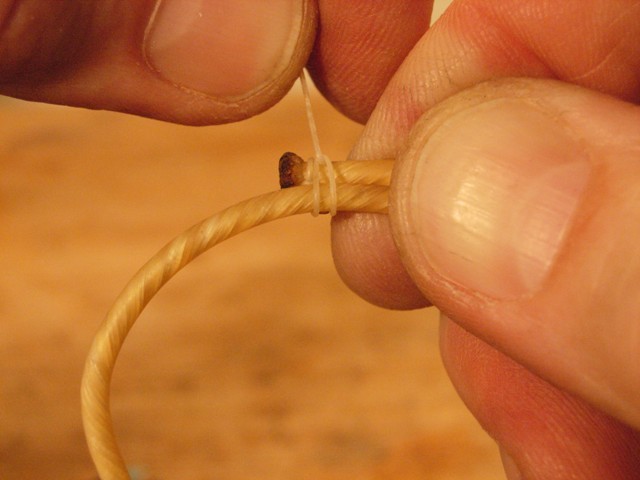
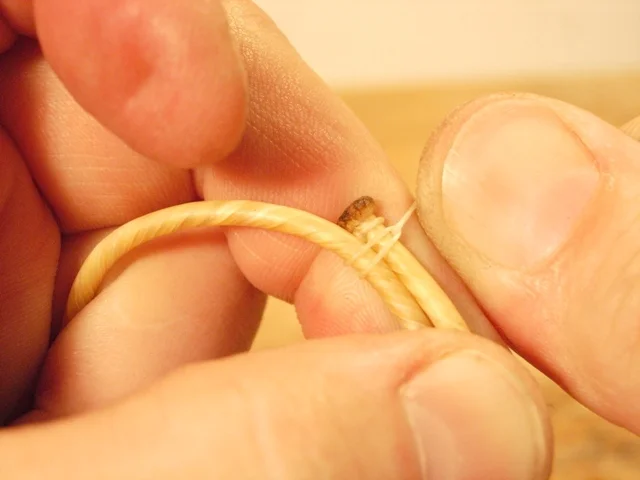
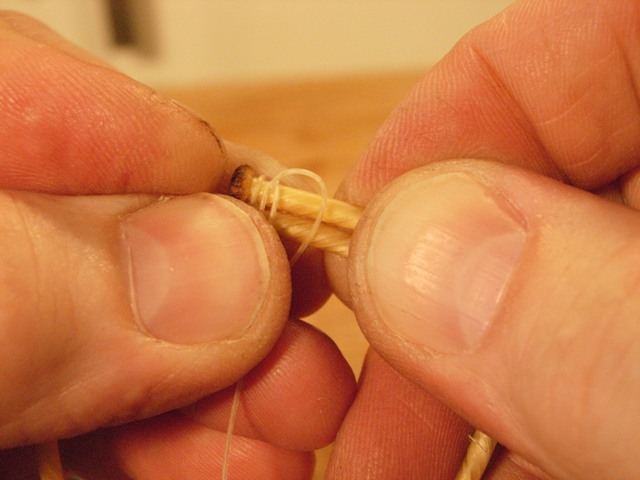
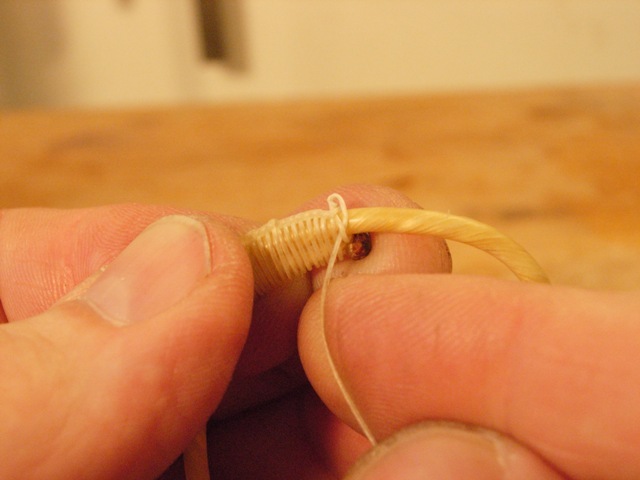
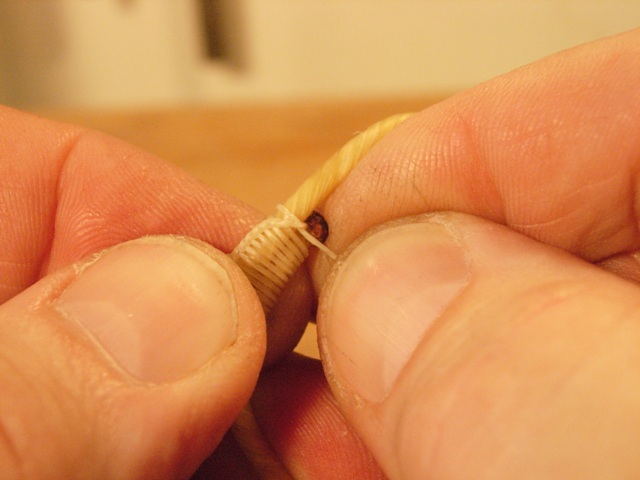
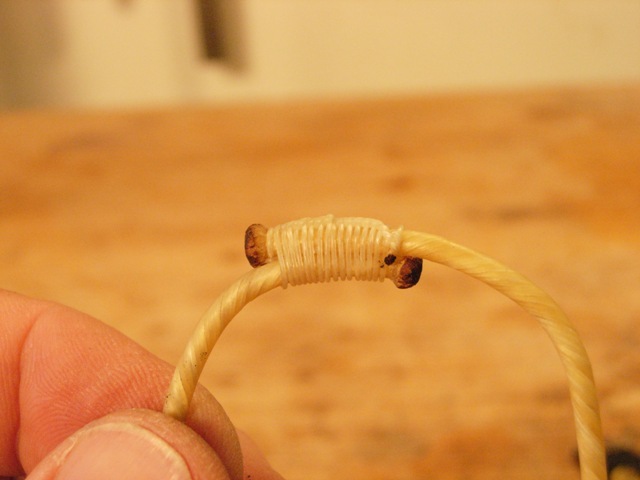
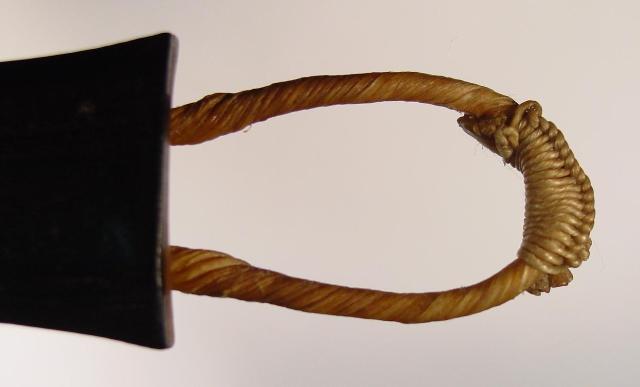
Putting Tailgut on a Historical Tailpiece: The Stradivari Stitch